Author: admin
-
4 Tips to Distinguish Between Solid Wood and Veneer!
Have you ever looked at a table or dresser and wondered, “Is this actually solid wood?”
Before we get into how to tell, let’s quickly explain what veneer actually is.What Is Veneer?
Veneer is a thin layer of real wood that’s glued onto a core material like plywood, MDF, or another type of wood. It’s not fake, it is genuine wood it’s just not solid all the way through.
Veneer has been used for centuries in fine furniture making, many antique pieces feature beautiful veneer work to showcase rare or decorative grain patterns.
That said, veneer and solid wood behave differently — especially when it comes to refinishing and restoration.
Here’s how to spot the difference.1. Check the Edges
Look closely at the edge of a tabletop or drawer front.
Solid wood will show continuous grain flowing naturally around the edge.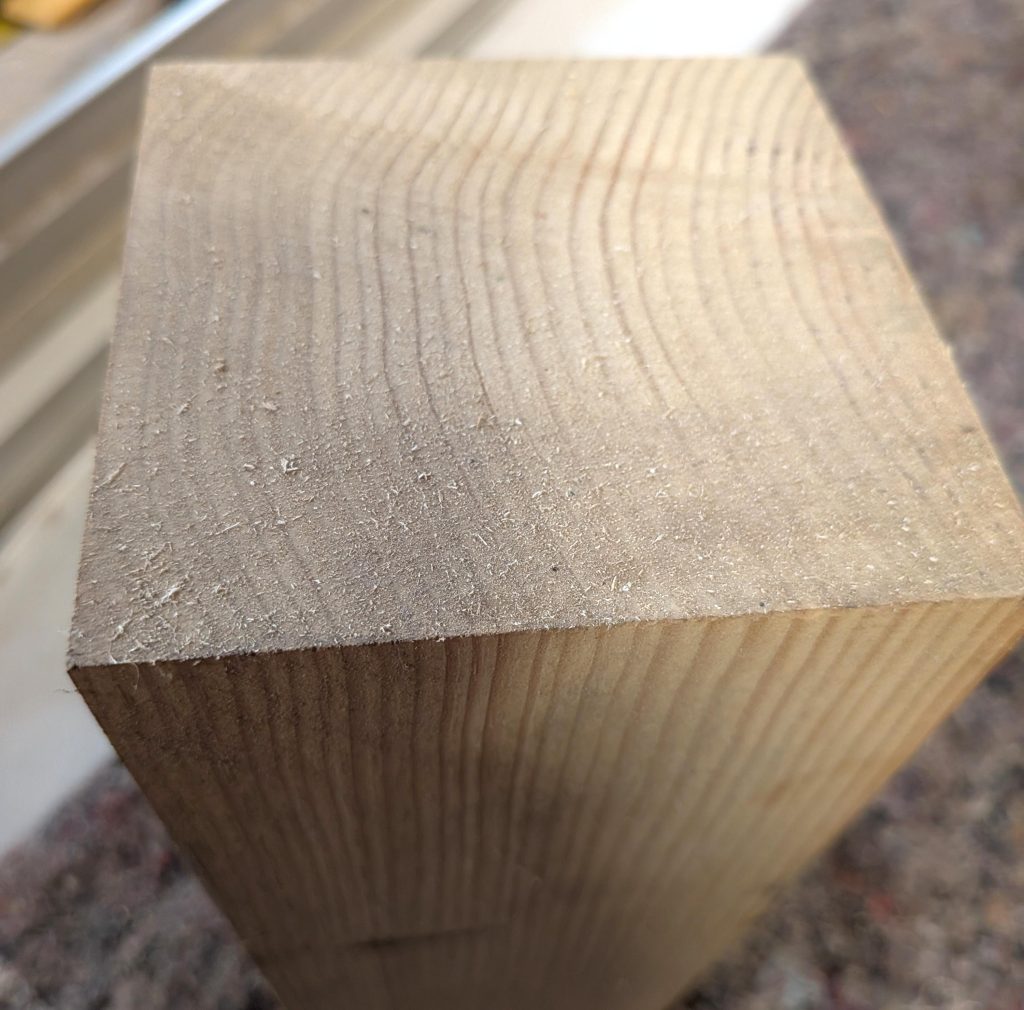
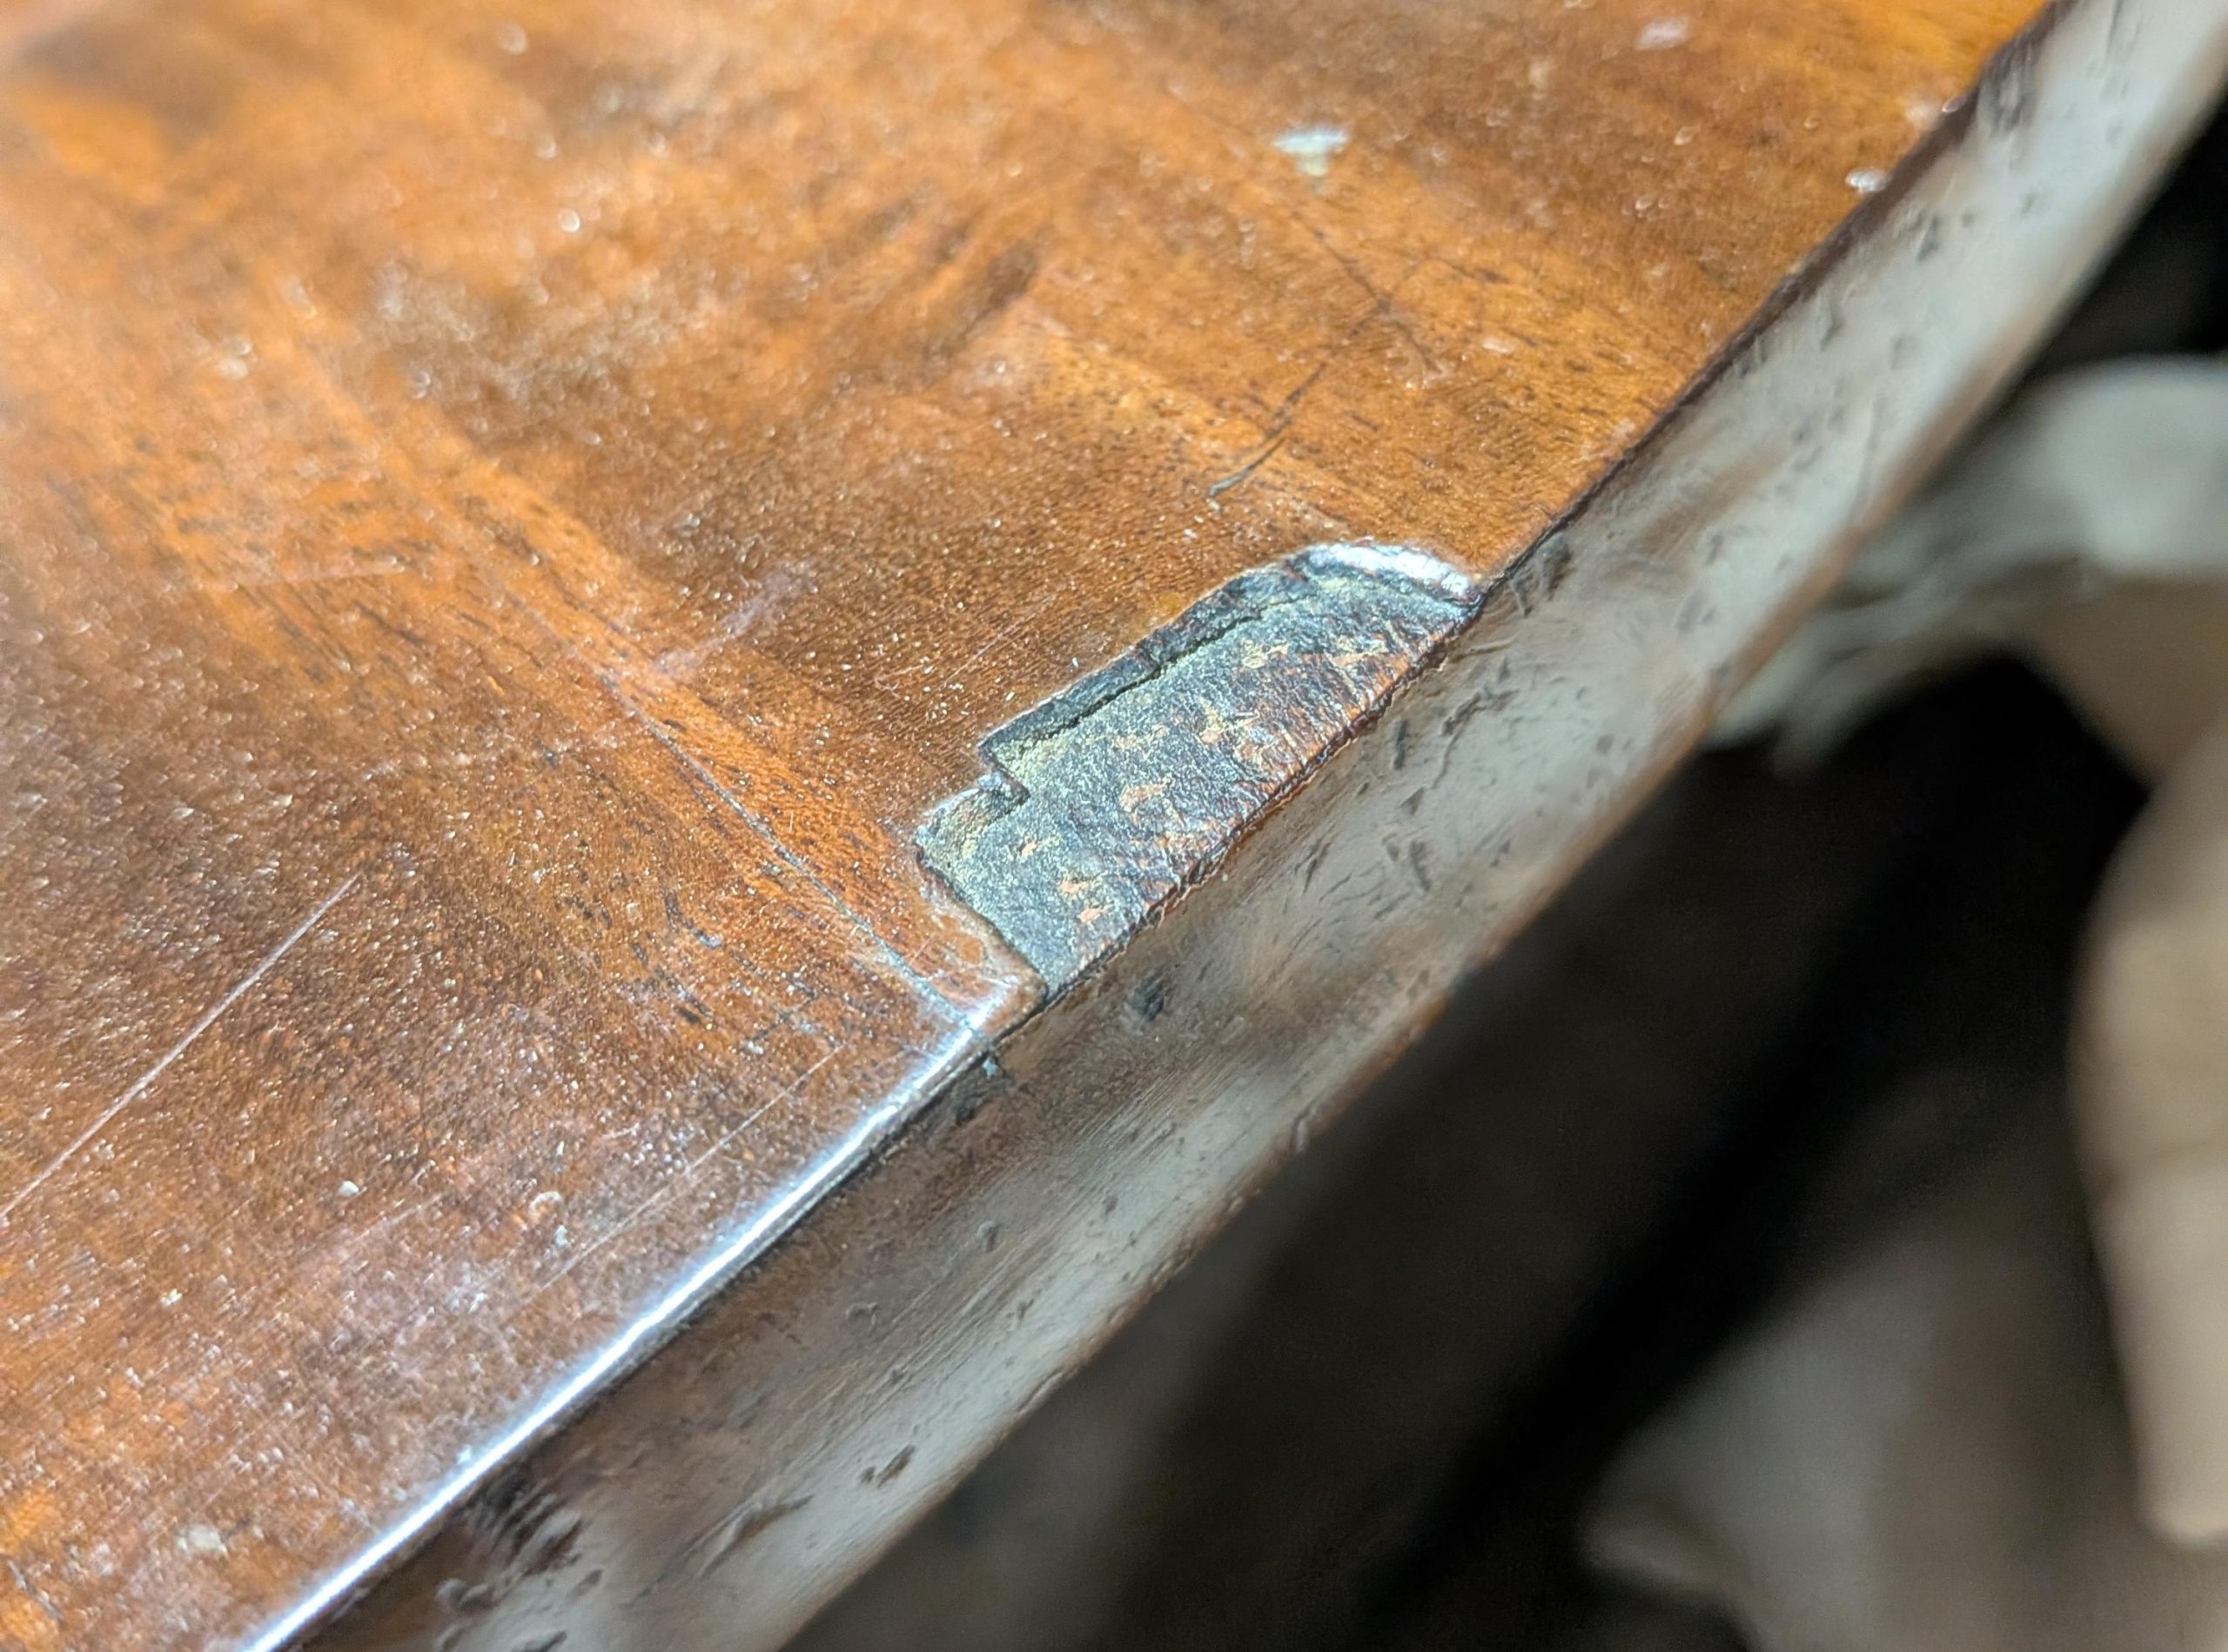
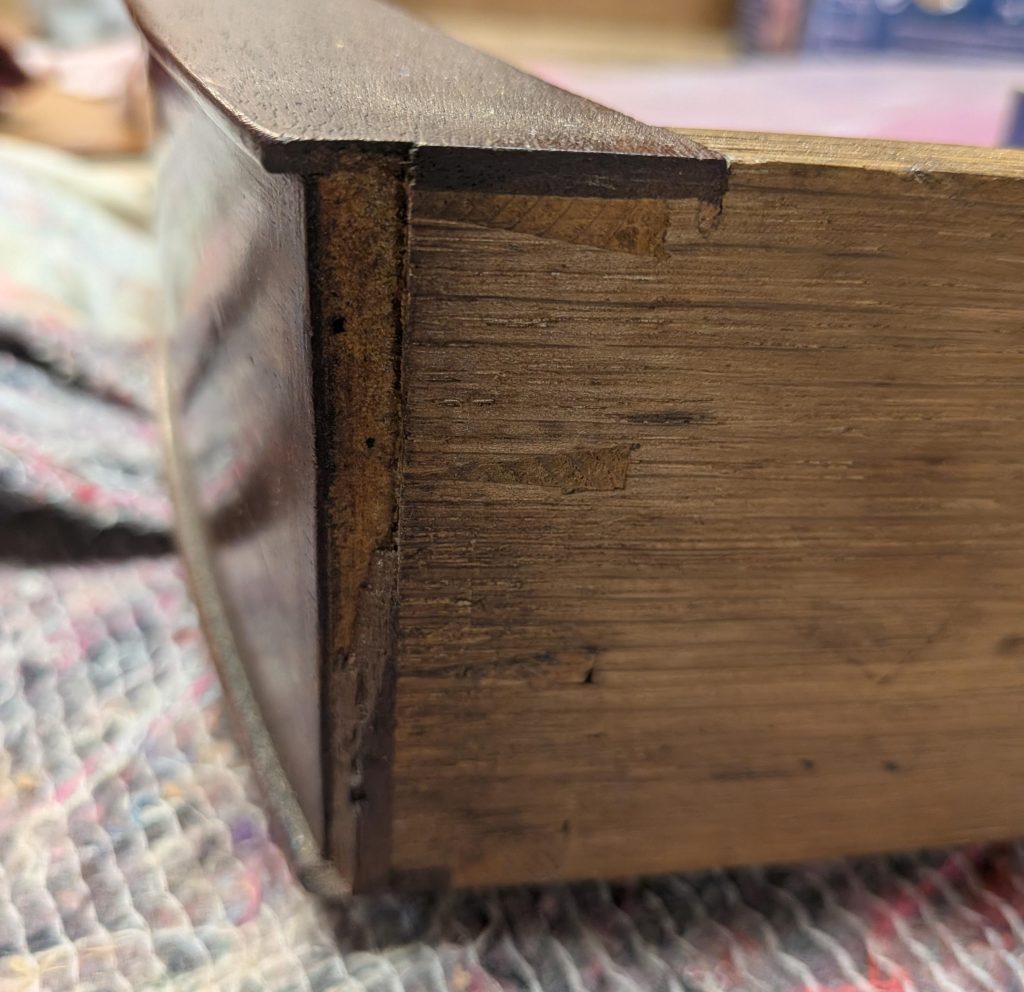
Veneer may reveal a thin seam where the surface layer meets the material underneath. If you see what looks like a thin sheet applied on top, you’re likely looking at veneer.
2. Look at the Grain
Wood grain should look natural, non symmetrical and slightly varied.
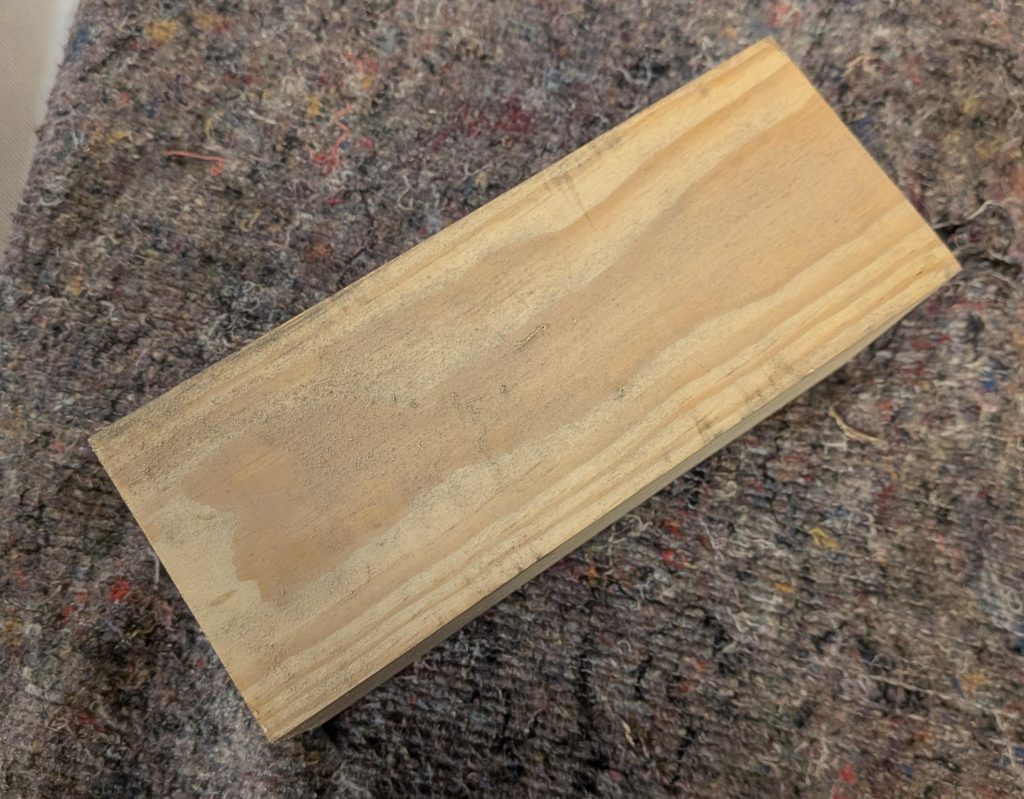
If the grain pattern looks perfectly mirrored or repeated across a wide surface, it’s often veneer.
3. Inspect the Underside or Inside
Turn the piece over or look inside drawers and cabinets.
If the interior surface looks completely different from the outside, there’s a good chance the outer surface is veneered. Solid wood pieces are usually more consistent throughout.4. Watch for Lifting or Chips
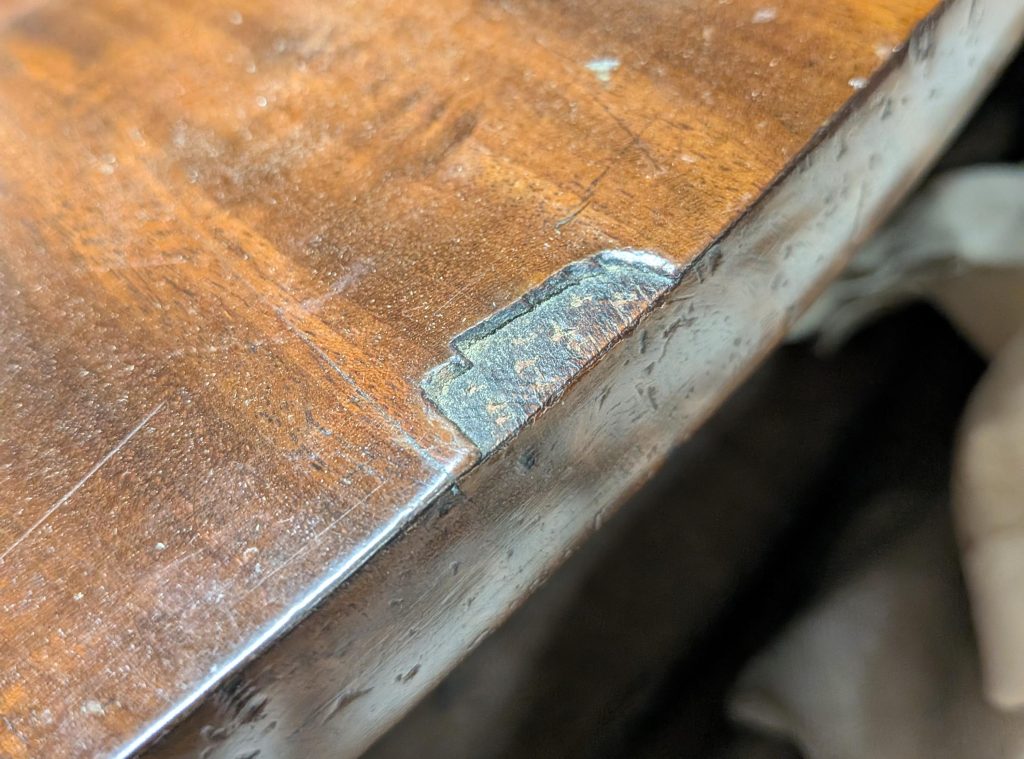
On older furniture, veneer sometimes shows small signs of lifting at corners or tiny chips that reveal a different material underneath. That exposed layer is the core beneath the veneer.
Why It Matters
The difference is important because veneer can only be sanded lightly. If you sand too aggressively, you can go right through it. Solid wood allows for more extensive refinishing and repair.
That’s why it’s always a good idea to identify what you’re working with before starting any DIY project.
If you’re unsure what you have, or if you have an antique piece that needs professional restoration then feel free to get in touch. We’re always happy to take a look and offer any help!WQ Team
-
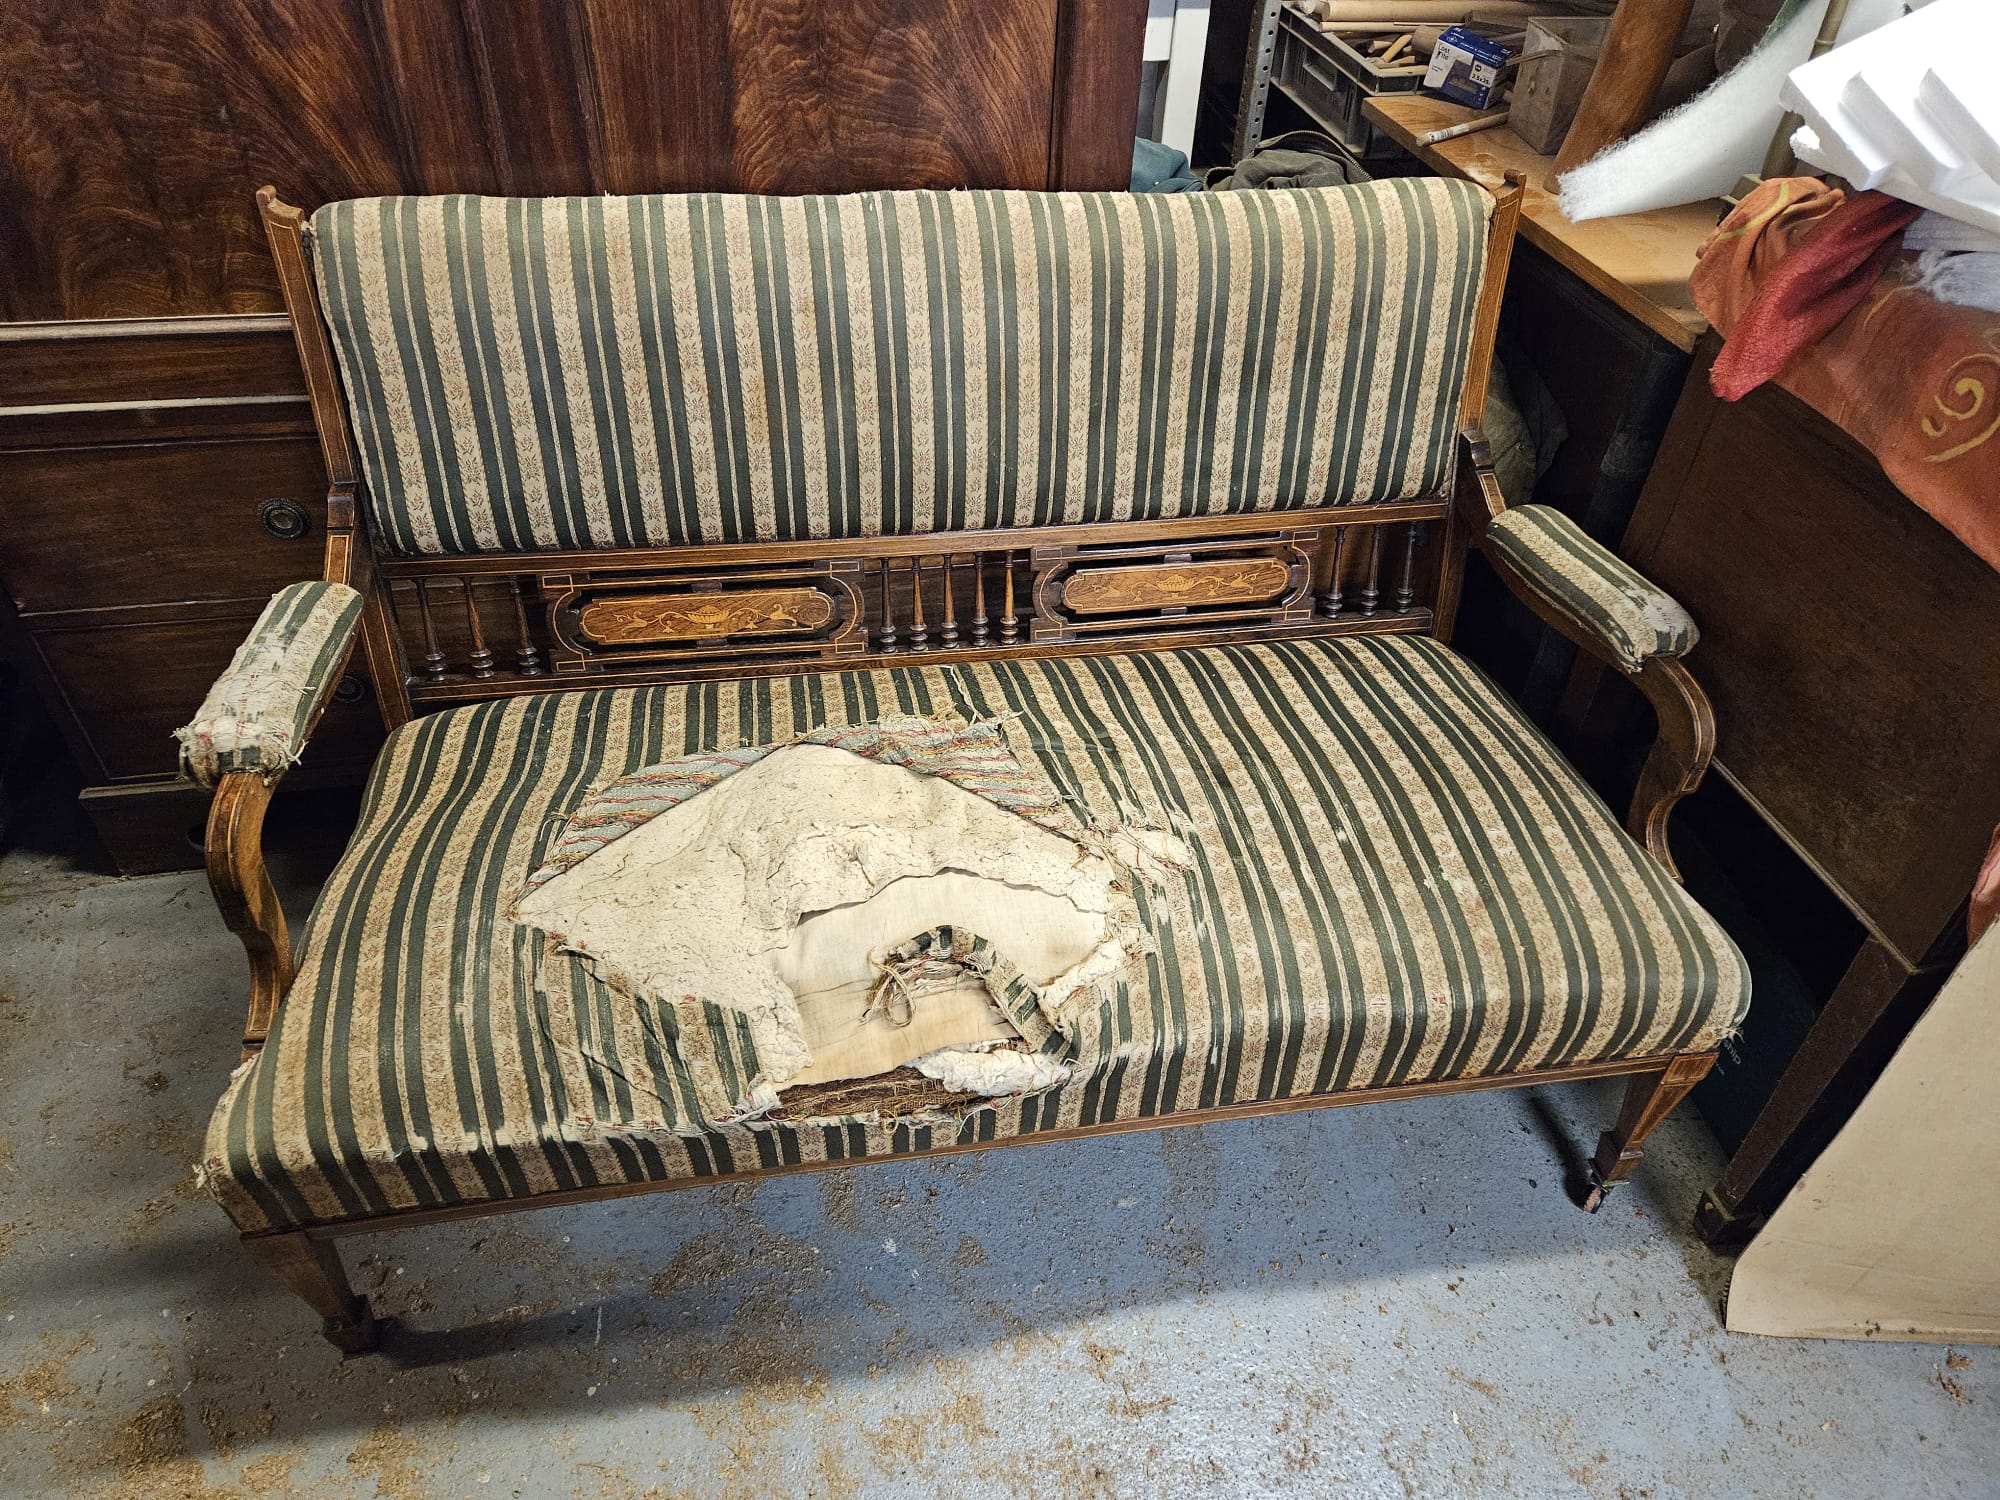
Saving an Edwardian Settee One Step at a Time
If you follow Wood Quirking, you may or may not know that I (Zoe) spend most of my time managing our social media, photographing / filming projects, editing videos, and helping with all the behind-the-scenes jobs to try and grow the business.
However, I’ve decided it’s time to step out of my comfort zone and take on a challenge of my own.
I’ve always admired the incredible transformations Dan and Nick achieve in the workshop, bringing tired and forgotten pieces of furniture back to life. I have never considered that this was something I could get involved with until I started considering learning the challenging art of upholstery.
I knew that this learning journey had to start somewhere so I thought, why not start with a piece of furniture that had been all but given up on. Although I am admittedly overwhelmed by how much work this piece of furniture needs, I also see an opportunity to learn a completely new skill and challenge myself in a way I never have before.
So, Dan and Nick very kindly went to get it and bring it back to the workshop!
Behold! The Edwardian Window Seat! 🪑😍

And now comes the fun part!
My plan is to completely strip the settee back to its frame and rebuild it from the ground up. Every layer will need to come off so I can see exactly what’s hiding underneath and understand how it was originally constructed.
From there, I’ll be assessing what needs replacing, my thinking at this point is that it is likely to be everything that makes up the upholstery. The webbing, springs, stuffing, padding and, of course, a brand-new fabric!
I am aware that this sounds incredibly ambitious for someone who has never done upholstery before!
I won’t pretend I know exactly what I’m doing yet. There will almost certainly be mistakes along the way, plenty of moments where I’ll need to stop and figure things out, and probably a few occasions where I wonder what I’ve started.
Thankfully, I won’t be tackling it alone.
Dan and Nick will be on hand throughout the project to share their knowledge, offer advice, and help me when I inevitably get stuck. Having their support gives me the confidence to take on something that otherwise might have felt completely overwhelming.
One of the things I love most about Wood Quirking is that there’s always something new and interesting to try! Every day is different.
This Edwardian settee is definitely going to be a learning curve, but that’s exactly why I’m excited about it.
Over the coming weeks and months, I’ll be sharing the entire process, from stripping it down and discovering what’s underneath to rebuilding it layer by layer and choosing the final fabric.
I’m sure there will be successes, setbacks, and plenty of lessons learned along the way, but hopefully by the end of it all I’ll have transformed this neglected settee into something beautiful once again.
Wish me luck—I think I’m going to need it!
-

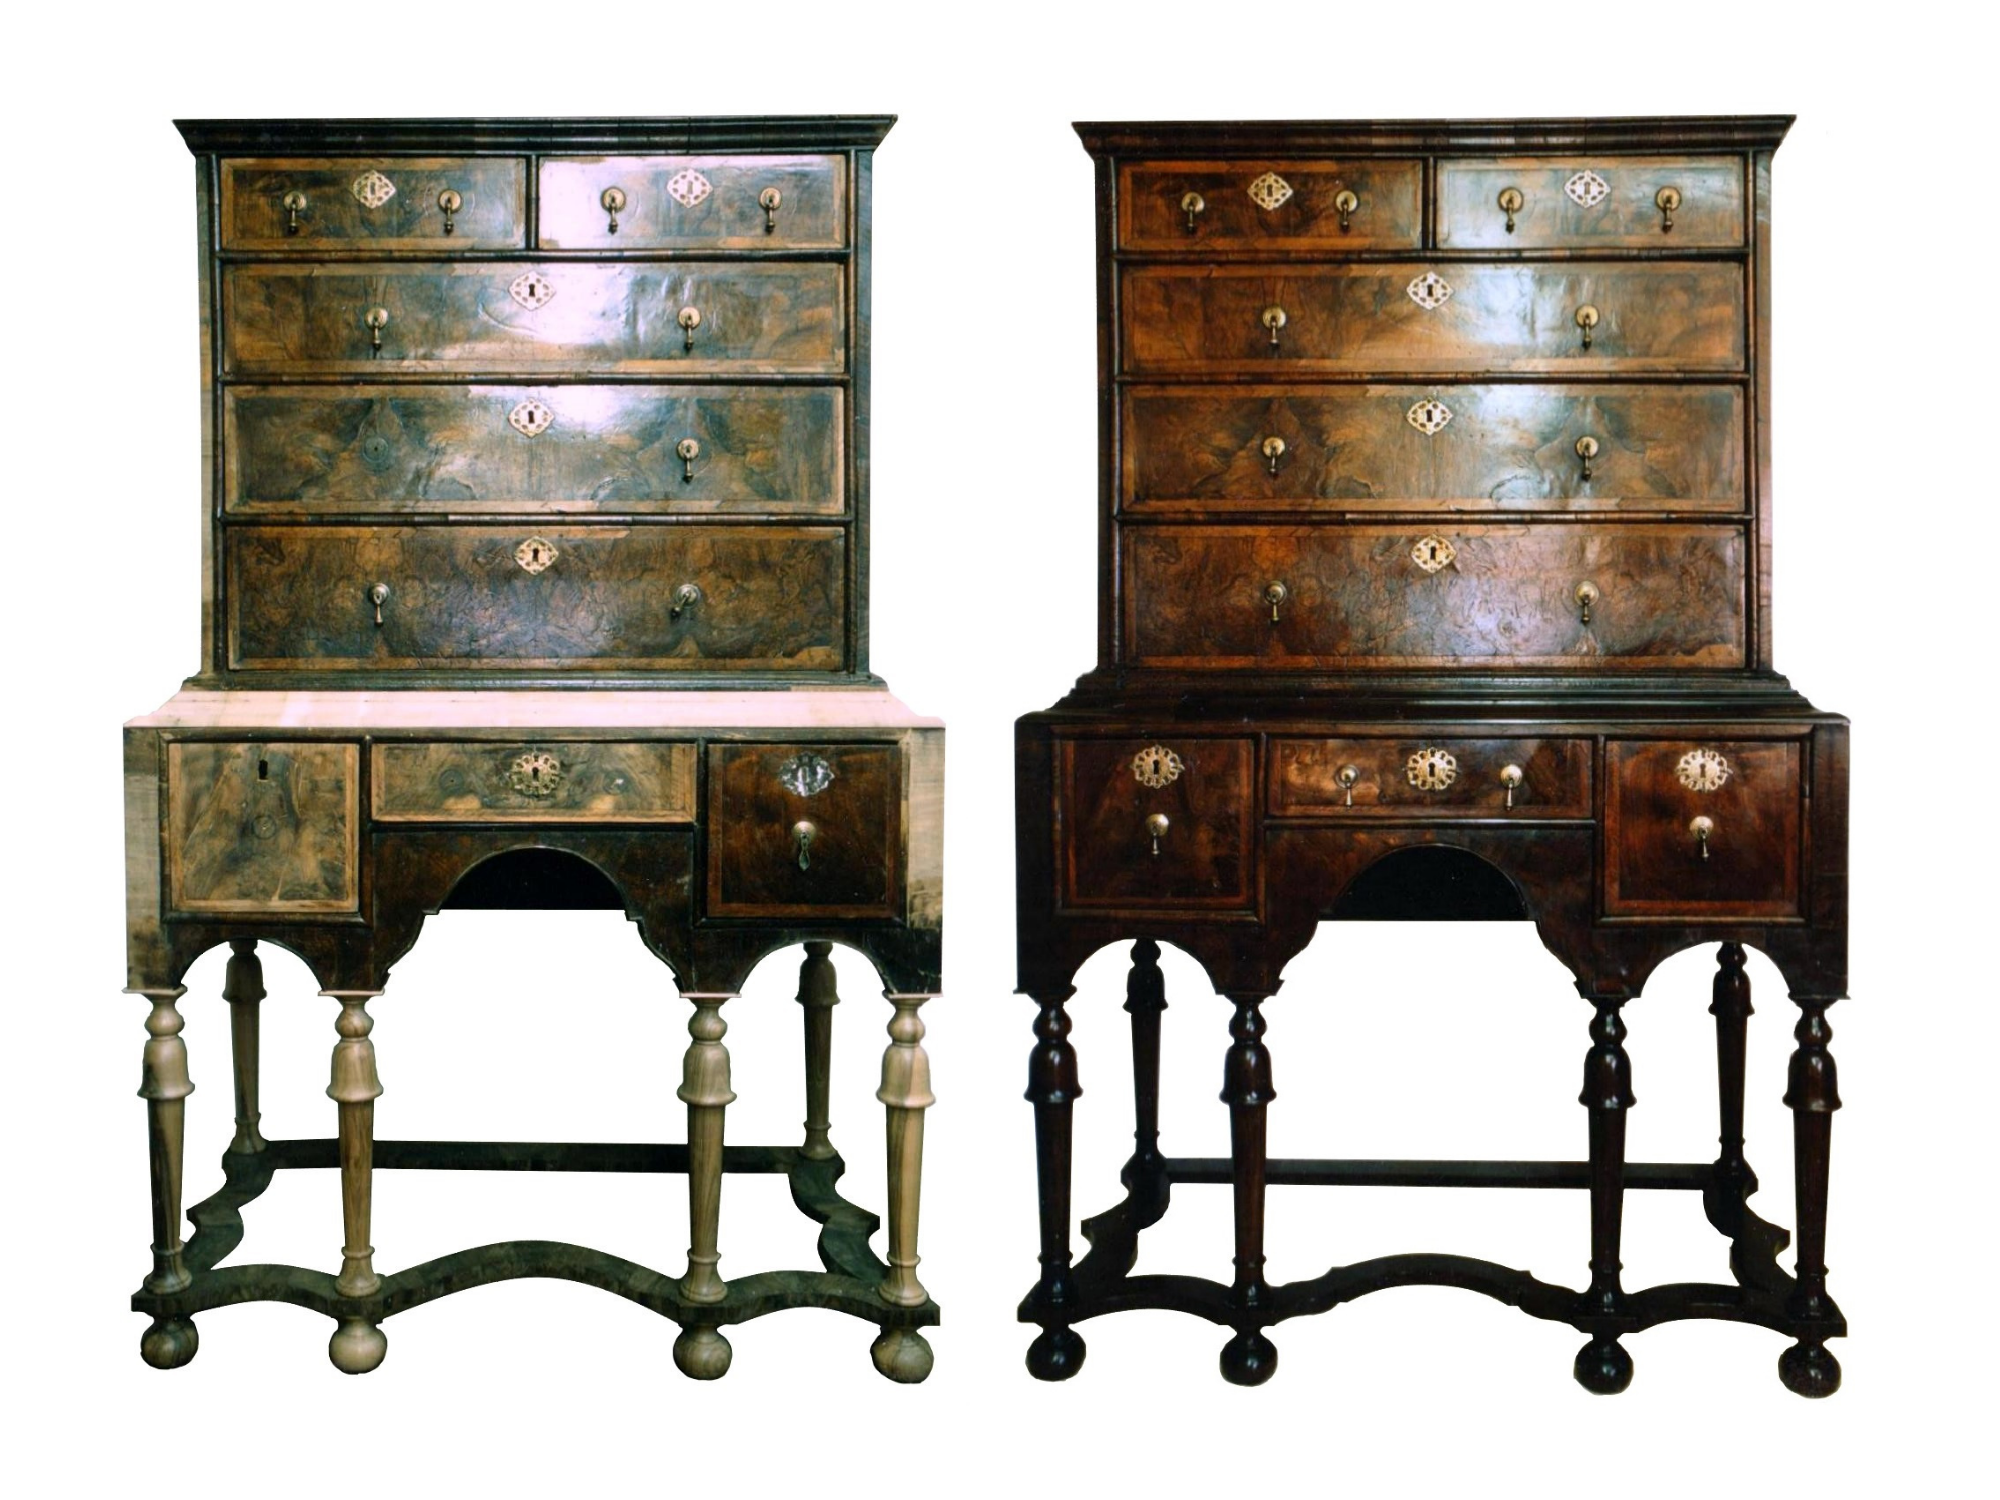
Before and After – William and Mary Chest on Stand!
This beautiful Burred Walnut William and Mary Chest on Stand was featured in our most recent newsletter, but we felt it deserved a post of its own.

This restoration was a real labour of care and craftsmanship. The piece arrived needing extensive repair work, including a completely new set of legs. Every repair then had to be carefully aged down and colour matched to blend seamlessly with the original woodwork, preserving the character and restoring the original look and functionality.
Once the structural repairs were complete, the chest was sealed and waxed to revive the rich tones and stunning figuring in the walnut.
One of the most satisfying parts of this project is how the colour matching on the structural repairs blend so seamlessly with the original wood. As with a lot of our restorations, everything was designed to sit naturally within the original piece, allowing the craftsmanship and beauty of the chest itself to take centre stage once again.
A job very well done for Nick!
WQ Team
-

A New Chapter for Wood Quirking!
This week has been very exciting as we have seen the launch of the Wood Quirking rebrand! The Wood Quirking team, especially Nick, have been in the antique furniture restoration business for a very long time. Up until now, we have managed to build a successful, respected business relying solely on the word of mouth of many of our loyal, satisfied customers. However, Nick and Dan decided it was time for a bit of a revamp and to enter the 21st century by creating a website and joining social media.
This decision will enable the team to reach a wider customer base and showcase our amazing work, which we are so passionate about. We are hoping to start sharing regular before-and-after transformations, behind-the-scenes content, as well as progress updates regarding the new and exciting things we have in store for the business over the coming months.
The team at Wood Quirking are full of new and creative plans for the future, and are keen to start turning these ideas into reality. As well as our usual, high quality antique restorations, we are always on the lookout for interesting furniture finds to upcycle or restore! We also have an ever-growing list of unique pieces we would like to start creating ourselves that we feel you would really love. We hope you will follow along and look forward to sharing this process with all of you!
WQ Team